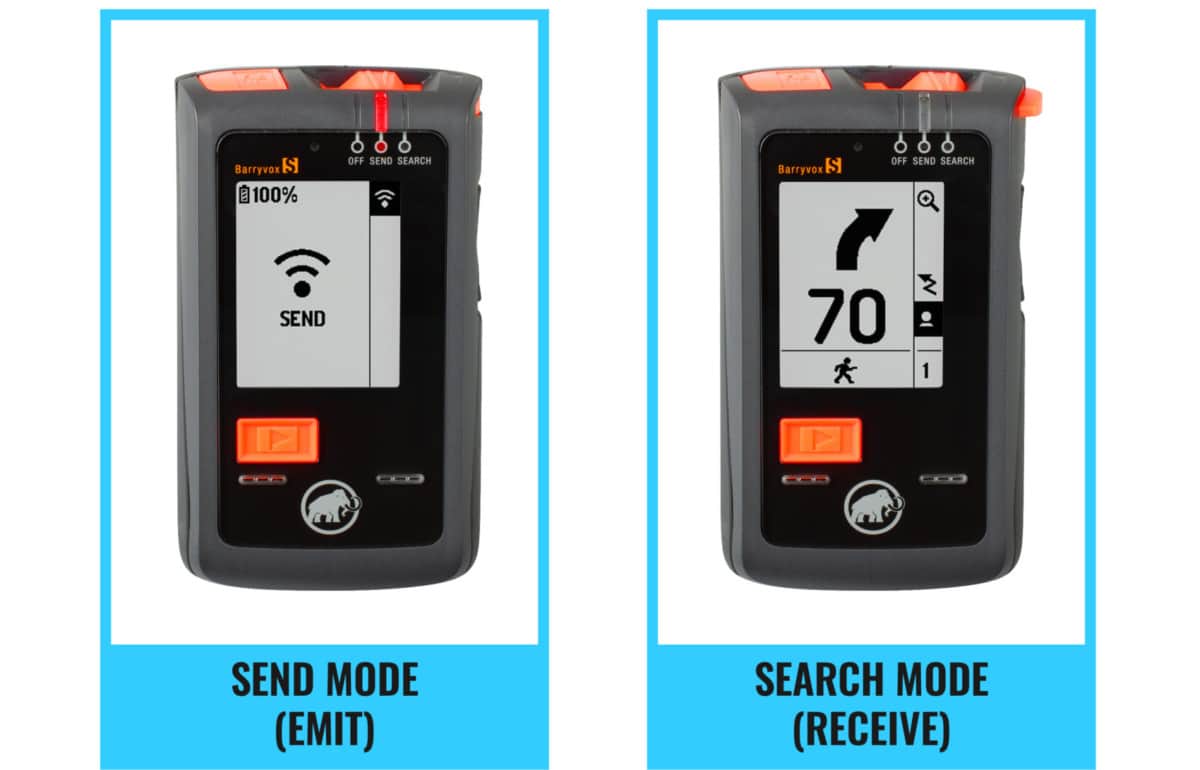
The avalanche transceiver, otherwise known as a beacon, is an essential part of the avalanche safety gear triad, which also incorporates the shovel and probe. Worn by most backcountry skiers and snowboarders around the world, avalanche transceivers have saved countless lives since their inception. Essentially, the send/search mode allows avalanche burial victims to be located from a distance (commonly up to 70m). It’s important to educate yourself on how to choose an avalanche transceiver and how to use it. For the former, read the content below. As for the latter, I heavily recommend signing up for an AST-1 course (Avalanche Skills Training) or AIARE-1 for my US neighbours. Those courses will teach you the fundamentals of transceiver search, which can be quite complicated depending on the situation, as well as general avalanche awareness and avoidance.
Related: The Early Season Snowpack: How It Affects Your Winter
Is It Transceiver, Beacon, or Bacon?
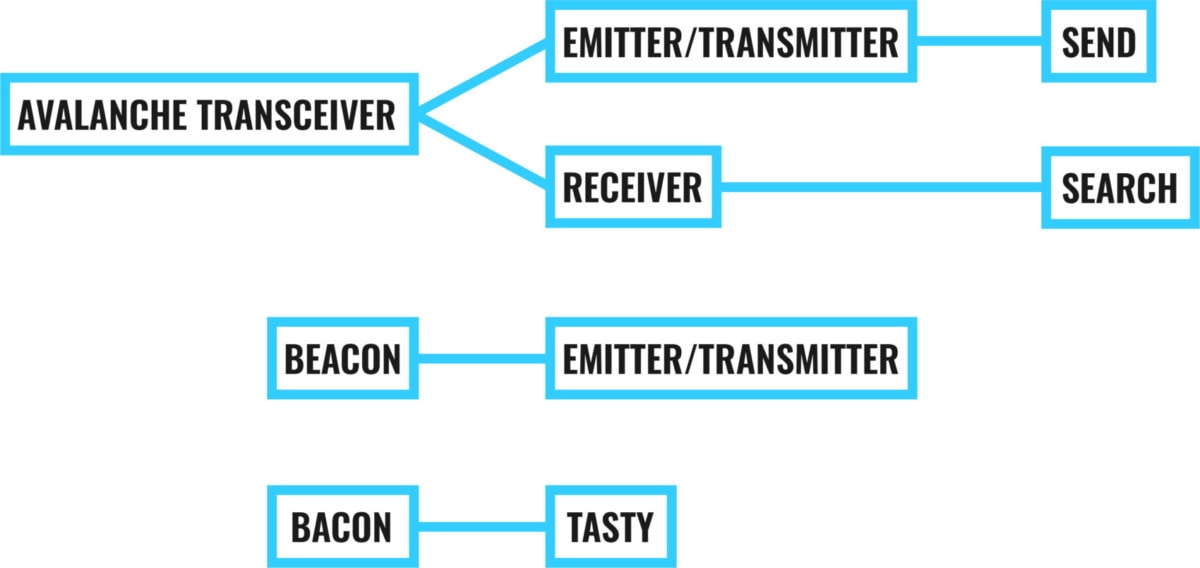
Commonly, the terms “transceiver” and “beacon” are often used interchangeably but “beacon” is factually incorrect. A transceiver functions as both an emitter/transmitter and a receiver. Likewise, a beacon exclusively emits. To say the truth: I catch myself using the wrong terminology often enough.
What’s an Avalanche Transceiver?
Understanding the inner workings of an avalanche transceiver is the first step to choose a good one. The core concept is that the transceiver provides two essential modes: send and search.
Send Mode: the send mode emits a radio signal at an industry-standard frequency (457 kHz) that’s recognizable by all transceivers across the globe. As soon as you turn on your transceiver, automatically activating the send mode, a radio signal is broadcasted through the mountains, which can be picked up by distant transceivers in search mode.
Search Mode: when you are within an emitting transceiver, the search mode detects the radio signal and provides you with visual clues as to where the emitting transceiver would be located. It indicates the distance and direction of the emitting transceiver by analyzing the strength and orientation of the signal using a minimum of three receiving antennas.
Key Features
When you’ll be wandering through the aisles of your local gear store and wondering how to choose your next avalanche transceiver, I’ve outlined a few key features to look out for.
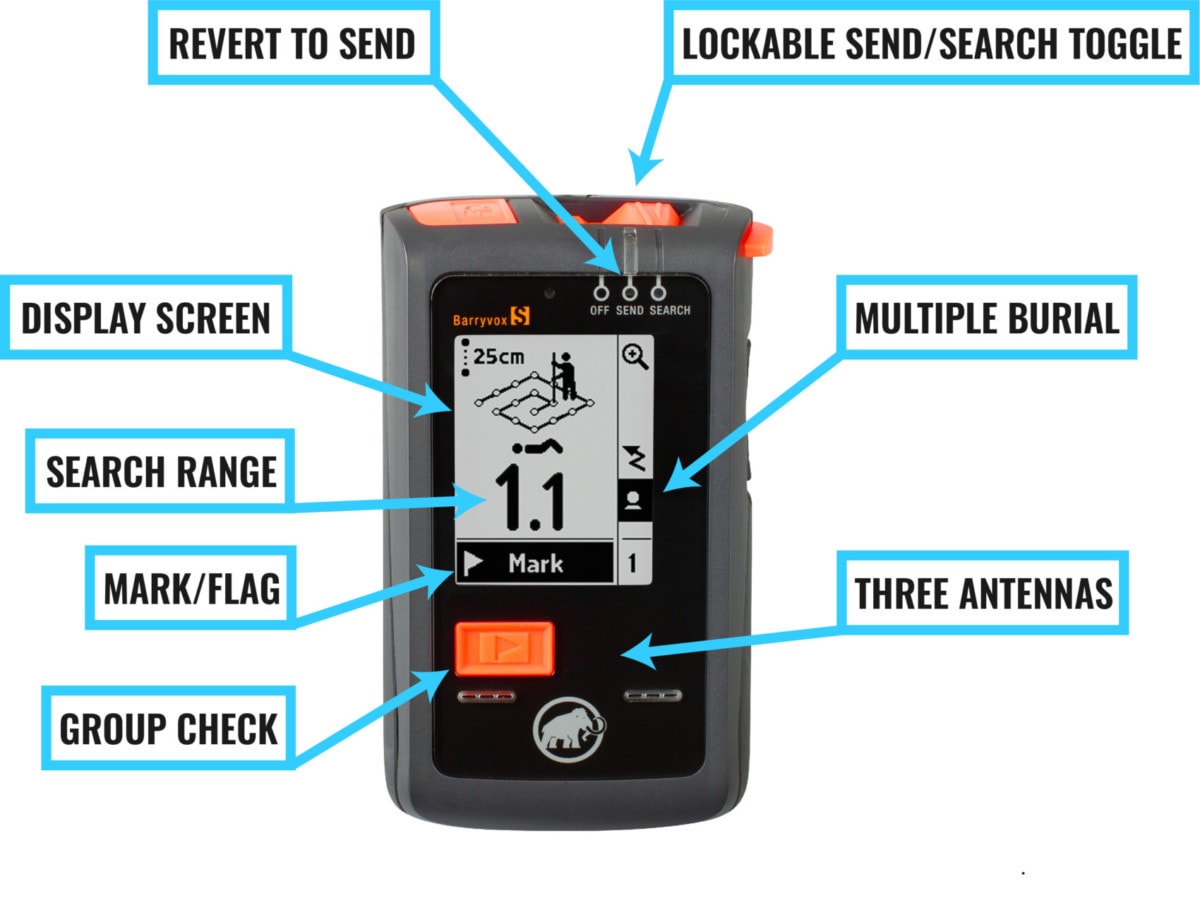
Lockable Send/Search Toggle: this is an important one. A transceiver must be able to flawlessly switch between the send and search modes and stay locked in its position. There have been instances in the past of transceivers switching into search mode or even turning off after a hard fall, unbeknown to the user, due to the locking mechanism failing. Professional skier, Nick McNutt, saw this happen to his Pieps DSP Pro transceiver as he got buried by a fast-flowing avalanche. The incident was reported by GearJunkie and since then has triggered a massive public outrage towards the transceiver’s manufacturer, Pieps.
Three Antennas: transceivers require three antennas to accurately detect the location of a buried subject. Those antennas work in tandem to provide the user with both the distance and direction of the source regardless of the victim’s orientation under the avalanche debris. Two-antenna models are absolutely obsolete and should only be used as spares for practicing avalanche burial scenarios.
Search Range: the transceiver must have an appropriate search range. Most digital transceivers now advertise a search range of 70m (under optimal conditions) with some offering an extended search range of 100m using the analog signal which only provides an intermittent audible cue without distance and direction. A higher range improves your odds of picking up a signal in the wake of a large avalanche.
Display Screen: modern transceivers now have a digital display screen that indicates the distance, direction, battery level, multiple burial incidents, and even a visual cue as to whether the buried victims have a heartbeat or not. The display screen must be user-friendly and intuitive. There’s no time to waste during an avalanche burial as every second passing by could mean the victim’s last breath.
Multiple Burial Search and Mark/Flag Function: modern transceivers have a function for detecting situations involving several buried victims. The transceiver automatically locks on the strongest signal, filtering out the other signals. Once a victim has been located, it must provide the option of marking him, thereby ignoring the signal, which allows you to move on to the next buried subject.
Group Check Function: a group check function is an essential tool that will help you verify the functionality of the transceivers within your touring group. The checking transceiver analyzes the frequency, period, and pulse duration of the emitted signal to ensure your group’s devices are within industry-standard tolerances and will be discoverable.
Automatic Revert to Send: when search mode is activated, most transceivers now revert to send mode automatically if they detect no movement for usually 4 minutes. This safety feature allows searchers to be located if they were to be buried by a subsequent avalanche.
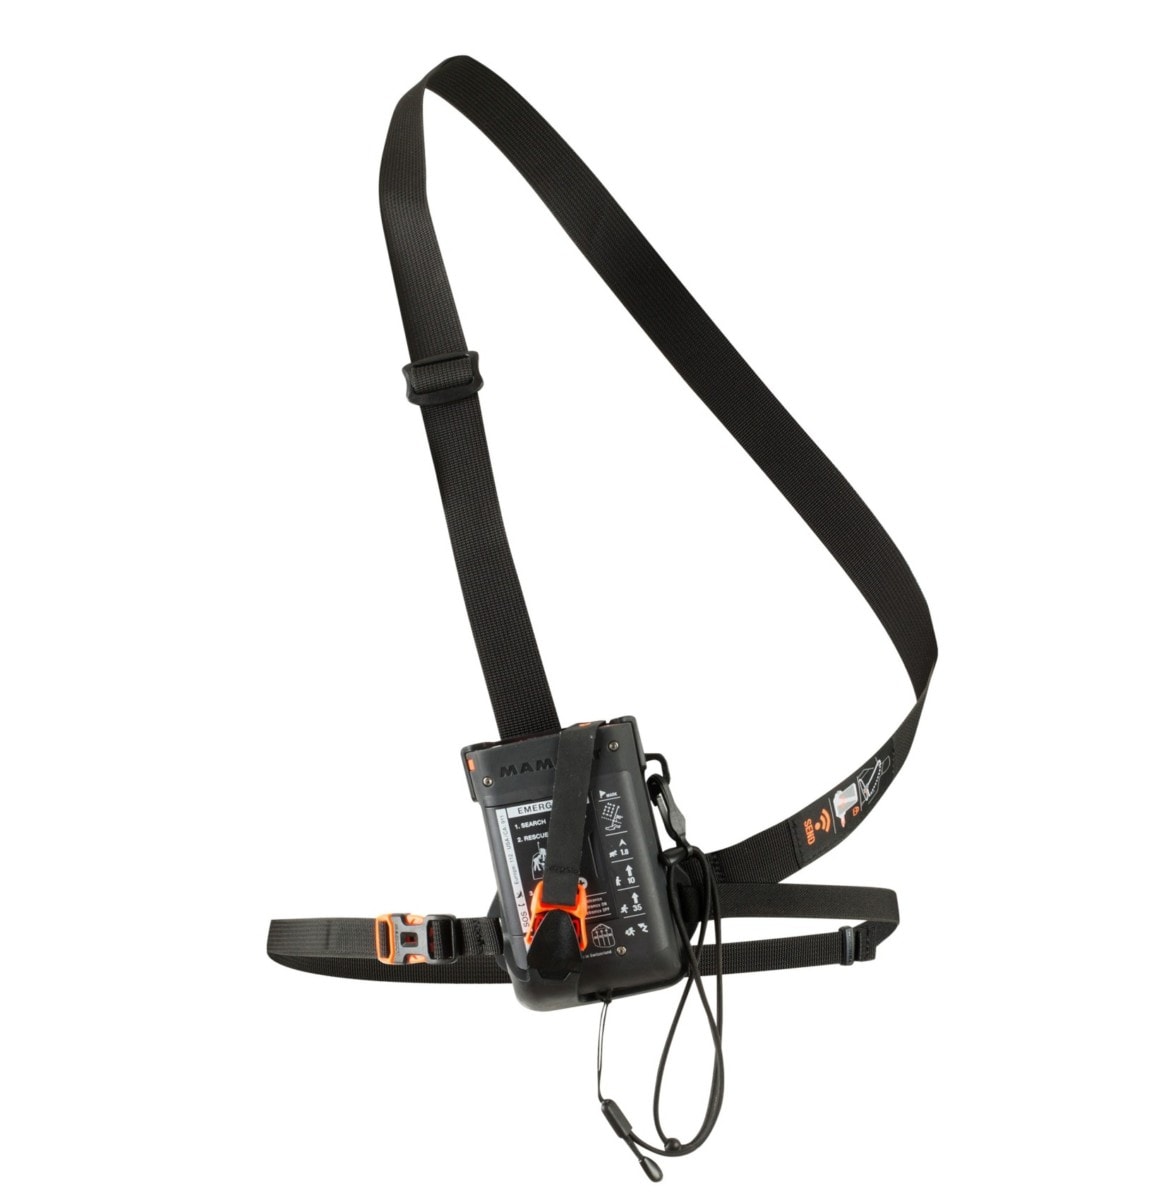
User-Friendly Harness: a comfortable, user-friendly harness, which secures the device to your torso, is an often overlooked feature that makes a big difference when you choose an avalanche transceiver. The main clip that secures the device must be easy to release with one hand. Again, every second counts in a burial. The leash connecting the transceiver to the harness must be extensible and long enough. And, the torso straps would ideally fit your body shape and provide some breathability. After all, you’ll be wearing it for several hours of intense physical activity.
Useful Advice
Here is a bit of advice that you’ll find useful after you choose your avalanche transceiver. Take it or leave it. Generally speaking, read your transceiver’s user manual before making any rash decisions.
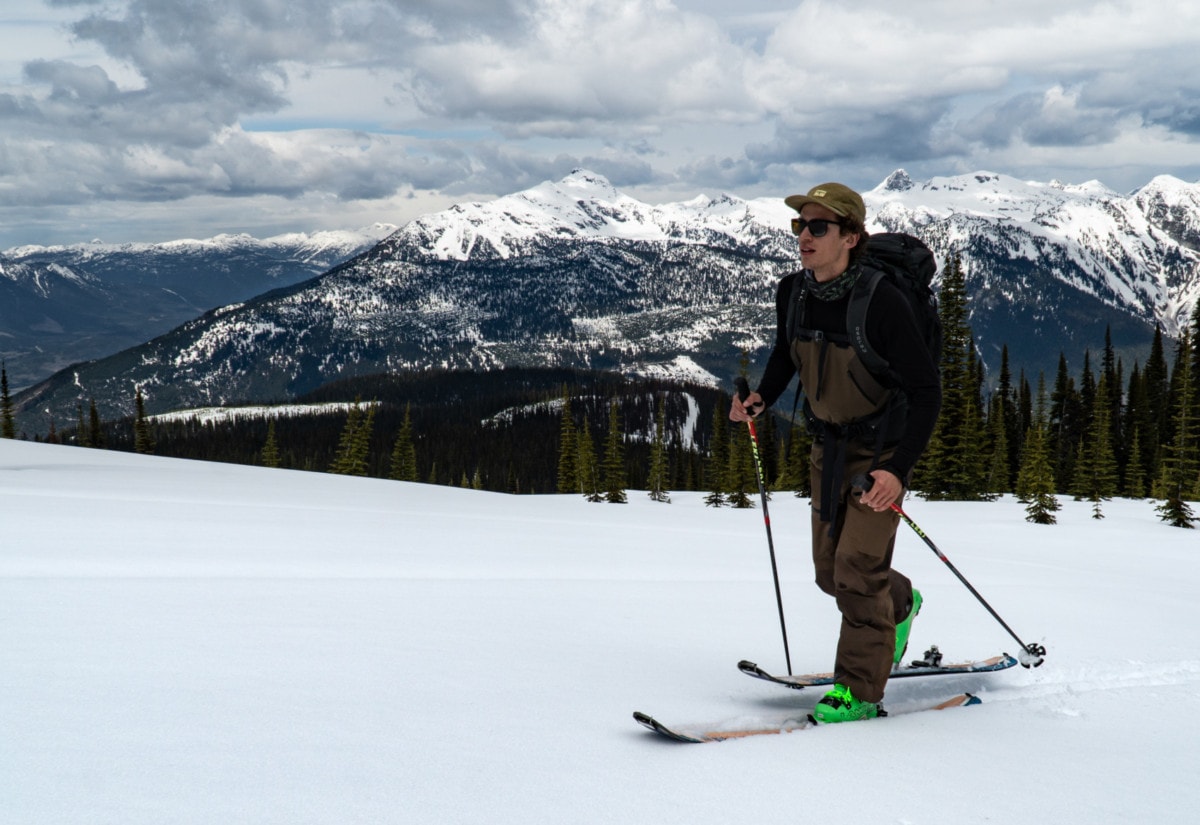
Wear the transceiver under your outermost layer… ideally. In theory, it speeds up searches as you won’t have to dig deep through your clothes. In practice, it doesn’t make sense if you’re wearing several layers and plan on de-layering as soon as you start sweating. To me, it sounds much worse to remove the transceiver, and its harness, while delayering, even if you are in an apparently safe spot. What if a surprise avalanche rockets down the slope towards you? Suddenly, you’ll be without a transceiver.
Avoid interference with electronic and metal objects. As a rule of thumb, your transceiver must be located more than 30cm from electronic devices and metal objects in send mode and 60cm, in search mode, to minimize signal interference. As such, the transceiver can be worn in its harness or in your pant’s main pockets as long as you respect the rule above. Again, refer to your user manual for the absolute numbers. Personally, I wear it in its harness as it frees up pocket space, perfect for storing gloves, maps, and a camera. I store my phone in the pocket opposite to my transceiver.
Switch your phone to airplane mode and any other electronic device for that matter. First of all, who wants to receive work emails when you’re touring in a remote wilderness? Isn’t the point of disconnecting yourself from civilization for a bit? Second, cellphone frequencies interfere with your transceiver’s ability to emit and receive signals. There are countless videos demonstrating that fact.
Perform a group check every time you head out in the backcountry. Transceivers may eventually break down and must be check before every single outing. Switching on search mode and looking for your friend’s signal isn’t going to cut it. The group check functionality verifies the transceiver’s signal frequency, period, and pulse duration. It will alert you when a transceiver is dropping out of tolerance. With time, the transceiver will not be discoverable unless preventive maintenance is performed.
Practice rescue scenarios multiple times before and during the season. Think about the difficult ones involving closely spaced, deep, and multiple buried transceivers. It’s so important to maintain this skill as speed is of the essence in an avalanche burial. On top of that, it’s crucial to understand the ins and outs of your model.
Change your transceiver’s batteries once they get down to 40-50%. Below that point, the transceiver may turn off unexpectedly under cold conditions, either due to weather or de-layering.
Alkaline and lithium batteries are solid options for your transceiver. Use the option recommended batteries in your transceiver’s user manual. On one end, alkaline battery levels decrease faster but progressively in a cold environment. On the other, lithium battery levels hold up better to cold but tend to drop off unexpectedly once in use. Some transceivers such as the Mammut Barryvox can accurately estimate lithium battery levels as long as you put brand new batteries when you swap them.
Avoid dropping your transceiver. Remember those three antennas that determine the direction and distance of emitted signals? They are very fragile and are prone to damage. Care to not drop the transceiver. It’s much easier said than done.
Related Articles
– How To Choose Touring Skis in 2024
– How To Choose Ski Touring Bindings in 2024
– How To Get Into Ski Touring (Backcountry Skiing)
